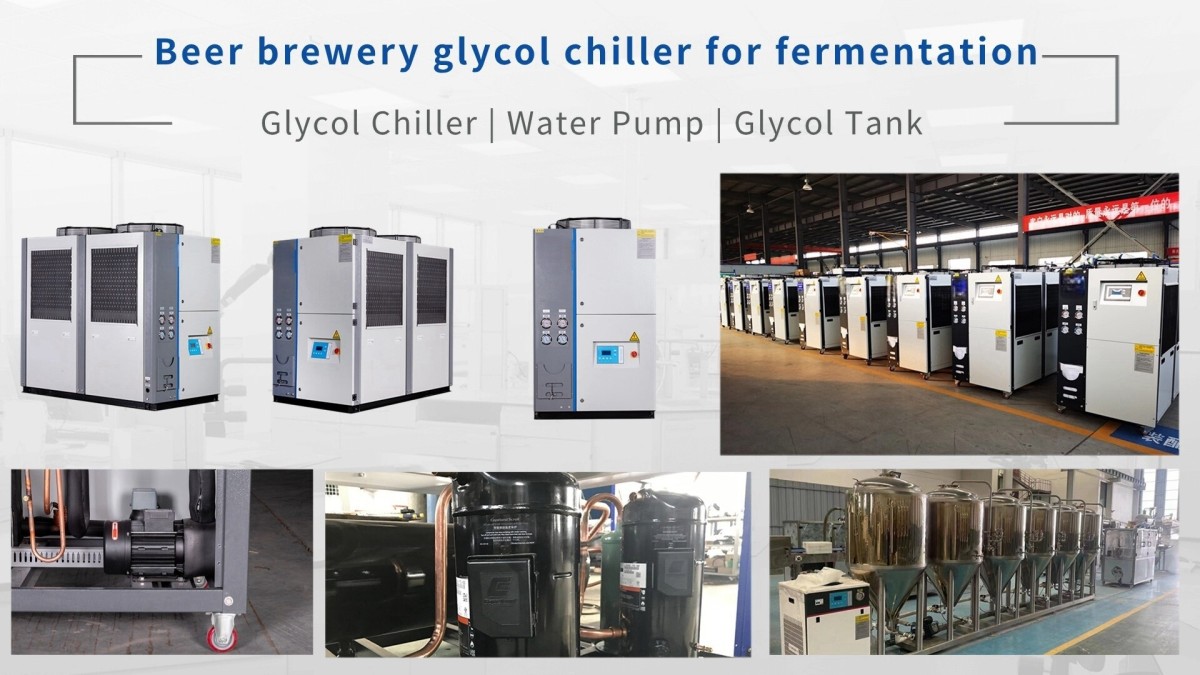
The Ultimate Guide to Installing a Glycol Chiller for Your Brewery
Hello, this is Jamie Zhang, I'm personally into industrial water chiller business for more than 15 year svery familiar with industrial cooling solution making and design, installation and service.
Recently, more and more customer from brewery field ask me how to install the glycol chiller for their brewery. So, now let me share some of my experience for the brewing glycol chiller.
I imagine by the time you receive your chiller, you've already upgraded from your brewing kit to all-grain, and now you're planning to install a brand new three-tank brewhouse or a row of fermenters. Congratulations! It's an exciting leap. But with great brewing power comes great responsibility—specifically, the responsibility of temperature control.
A glycol chiller for beer brewing is the unsung hero of any professional equipment. It's the heart of your brewery's cooling system, tirelessly pumping chilled glycol-water solution to maintain perfect fermentation temperatures, resulting in crystal-clear beer and a refreshing, ideal temperature.
Installing a glycol chiller is not as simple as plugging in a window air conditioner. Proper setup is crucial for efficiency, beer quality, and the longevity of the equipment. Here's a step-by-step guide to proper installation.
Step 1: Critical Pre-Installation Planning
Before you even unpack, planning is crucial.
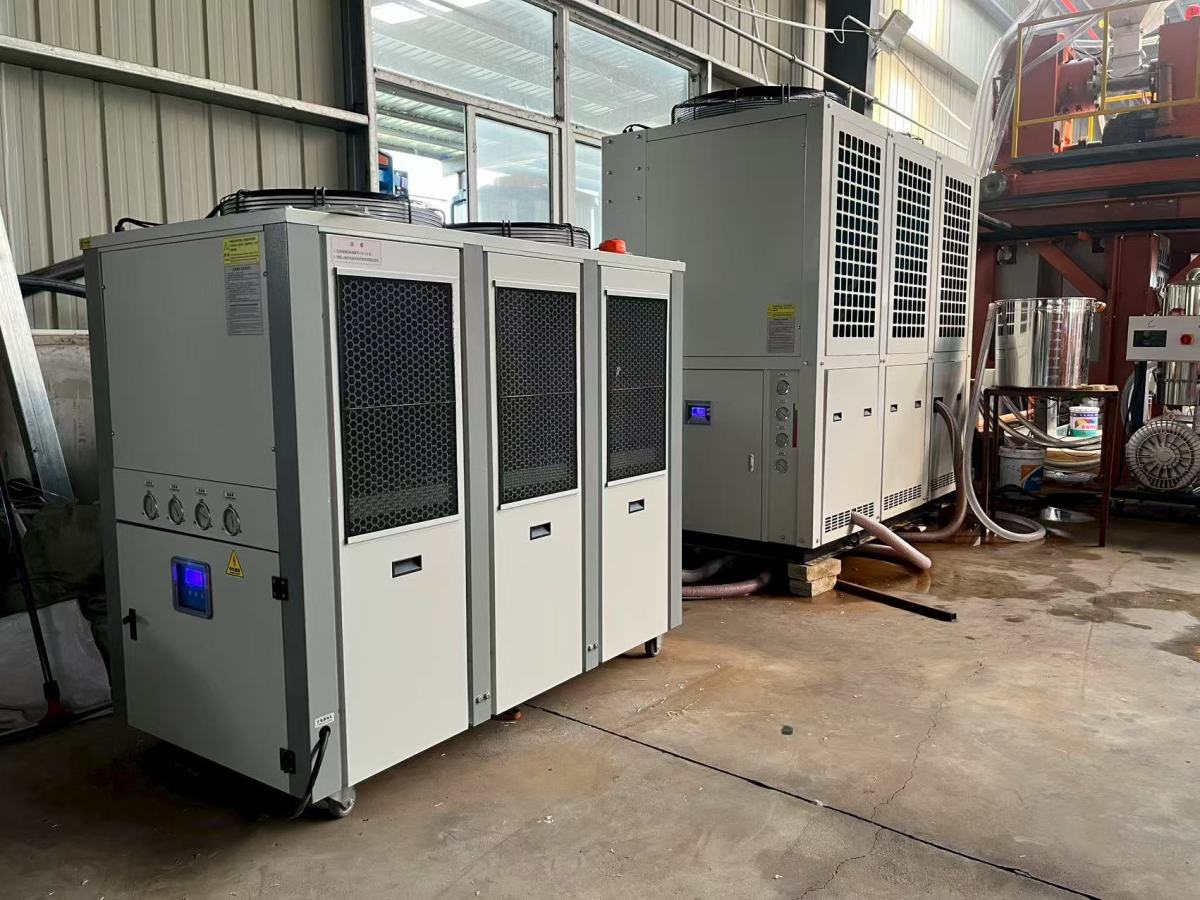
Location, location, location! Your glycol chiller requires a cool, dry, and well-ventilated space. It dissipates heat, so a hot, cramped room forces it to work harder, wasting energy and potentially causing downtime. A basement, garage, or dedicated room is ideal. Make sure there's enough space for both intake and exhaust air.
Cooling Capacity: Is your chiller undersized or oversized? An undersized unit will run continuously and fail to reach target temperatures, especially during active fermentation. An oversized chiller will short-cycle, cycling on and off frequently, which can wear out the compressor. Ensure the cooling capacity of your craft beer glycol chiller is appropriate for your total fermentation tank capacity, number of tanks, and room temperature.
Step 2: Place and Connect Utilities
Solid Foundation: Place the chiller on a level, sturdy surface. Vibration-damping pads are highly recommended to reduce noise and prevent movement.
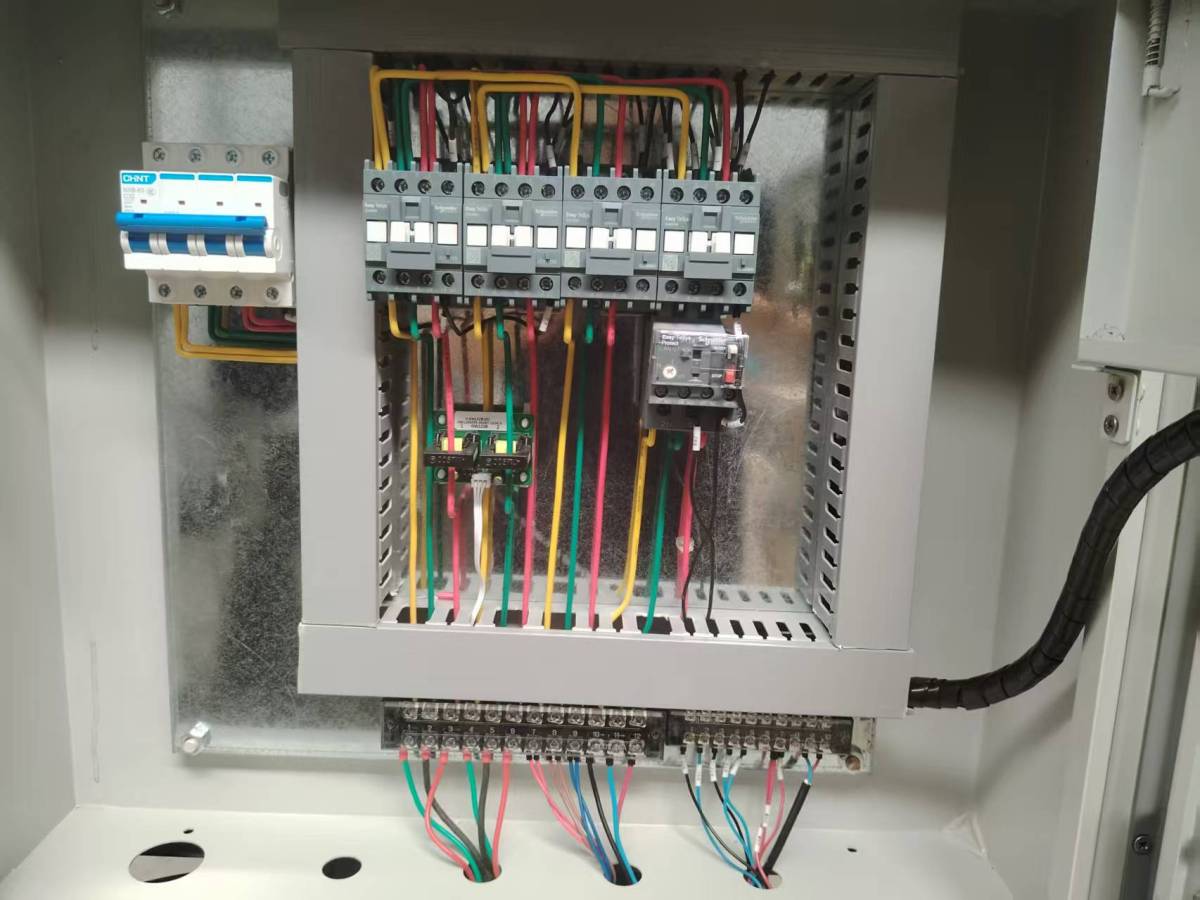
Startup: This requires a licensed electrician. Glycol chillers require a dedicated, heavy-duty electrical circuit (typically 220V//380V/440/460V single-phase or three-phase). Do not attempt this yourself unless you are a qualified professional.
Water Source: Some systems have an automatic fill valve installed in the tank's water supply line. This is a convenient feature, but requires a potable water connection with a check valve.
Step 3: Piping – The Arteries of the System
Here's the magic: connecting the chiller to your tanks.
Don't overlook insulation: All glycol supply and return lines must be insulated with closed-cell foam insulation. This prevents condensation (which can cause water stains and mold) and maintains the glycol water's temperature as it flows to the tanks. Uninsulated lines are extremely inefficient.
Manifold Setup: For multiple tanks, you'll need a glycol manifold. This allows you to control the flow of glycol water to each fermenter. Use ball valves at each outlet to isolate the tank for maintenance without shutting down the entire system.
Pipe Materials: Use sanitary, food-grade materials. Many breweries use insulated copper tubing for long runs or braided stainless steel hoses for direct connections to the tanks. Ensure all connections are secure and leak-free.
Pumping: Your fermenter glycol chiller comes with a built-in pump, but for extended runs or large systems, an auxiliary pump may be required to maintain proper pressure and flow. Consult your chiller's manual or the manufacturer.
Step 4: Connect the Fermenters
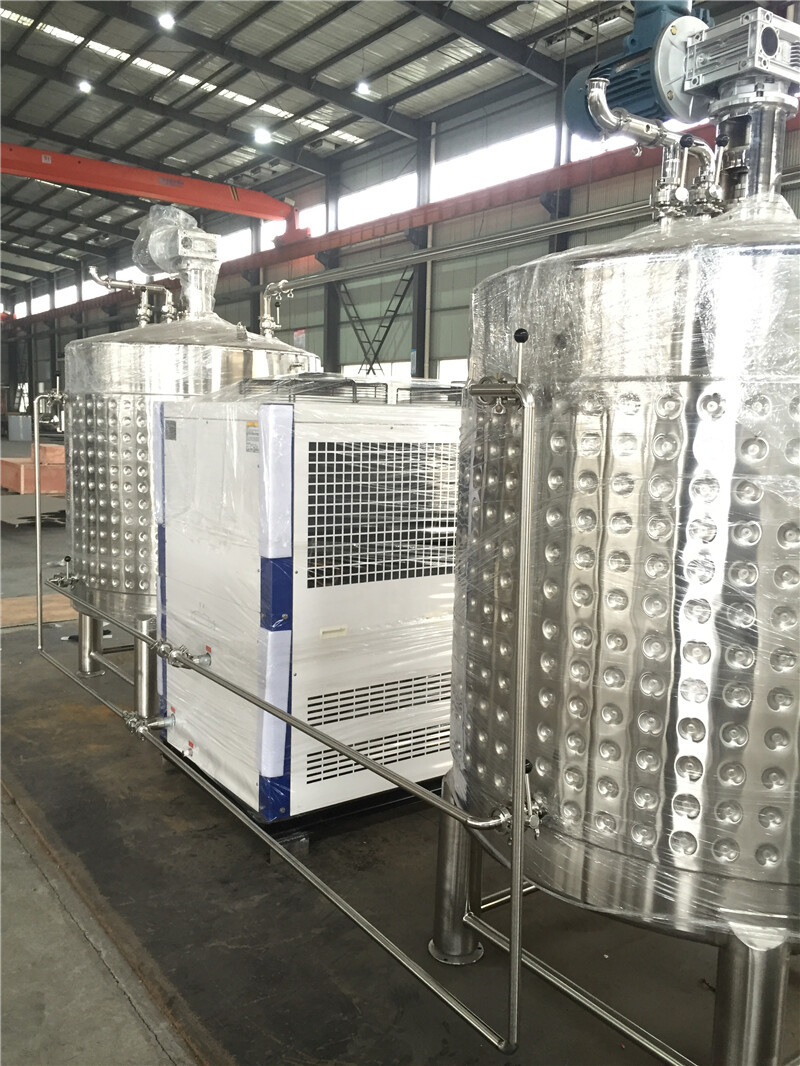
Each fermenter and clear water tank has a glycol jacket or internal cooling channel with two ports: one for glycol water input (usually labeled "Cooling In" or "Glycol Water In") and one for glycol water output.
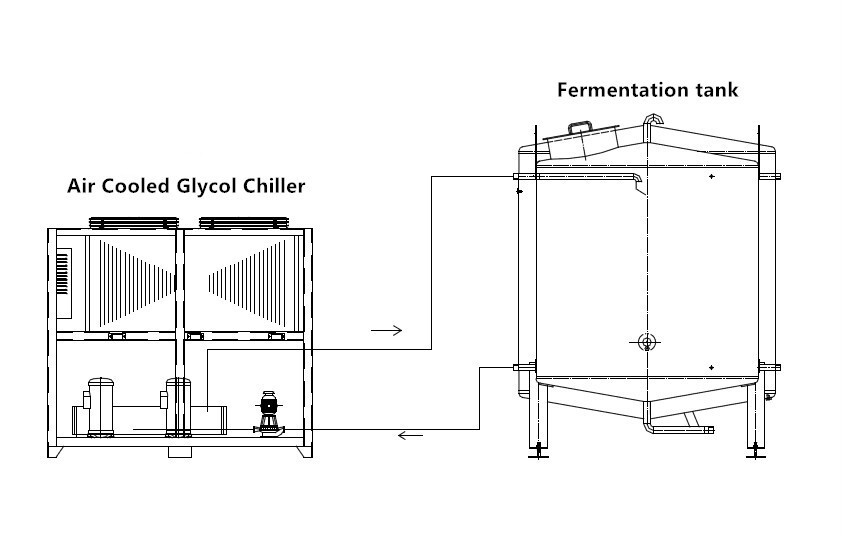
Supply and Return Water: The supply (cooling) line from the chiller manifold connects to the tank's "inlet" port.
The return (warm water) line from the tank's "outlet" port returns to the return manifold and ultimately to the chiller for further cooling.
Pro Tip: Label everything! Use color-coded tape or labels on each hose and port (e.g., blue for supply water, red for return water). This will save you countless headaches on a busy brewing day.
Step 5: Glycol-Water Solution and Final Inspection
Mixed Solution: Pure ethylene glycol does not transfer cooling as effectively as a water-glycol mixture.
The mixing ratio is determined by the chiller's outlet water temperature. Generally, if the outlet water temperature is below -5°C, use 20% ethylene glycol to 80% water.
Venting: Before starting the system, it is important to vent air from the lines. Air locks can prevent the flow of glycol-water and potentially damage the pump. Open the vent valve on the manifold or at a high point in the system until a steady flow of glycol-water is achieved.
Checking for Leaks: After the system is filled and vented, turn on the pump, but not the compressor. Check each connection for leaks. Tighten as necessary.
Step 6: Startup and System Testing
After the system is leak-free:
Open the chiller and set the desired glycol-water temperature. For ale, this is typically between 28°F and 34°F (-2°C and 1°C). The glycol must be cooler than your target beer temperature; a 5-degree temperature difference is generally recommended.
Set the fermenter controller to your desired beer temperature (e.g., 68°F/20°C for ale).
Monitor the system. Listen for the compressor to start and shut down properly. Observe the temperature readings on the tanks to ensure they remain stable.
A properly installed glycol cooling system for your brewery is crucial. It will ensure healthy yeast growth, clean beer, and smooth operation of your brewery. While savvy DIYers can handle most of the work, for electrical and complex plumbing work, always consult your chiller manufacturer or a professional brewery installer. This investment can protect your larger investment in beer.
Jinan Darko Machinery Co., Ltd. is your trusted glycol chiller partner, with extensive experience in chiller development and production and a long-term commitment to the beer fermentation, beverage, and food industries.
